Exercise 14 - Connecting a PIR sensor
1. INTRODUCTION
A Passive Infrared sensor measures infrared light radiating from objects in its field of view. In this case the term “passive” means that sensor do not emit or radiates any energy to detect other objects, which can be detected by the sensor thanks to their own radiated energy. The lens is divided in two parts. When the sensor detects change in infrared spectre, it sends a signal to actuator.

2. HOW TO CONNECT?
Materials:
· Arduino UNO board
· Protoboard
· Some wire Jumpers
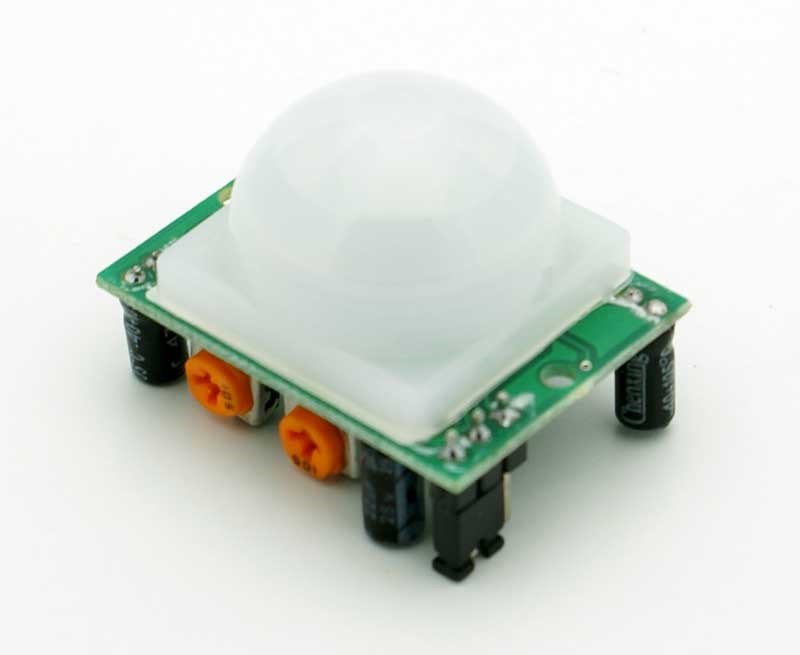
· PIR sensor
· 220 ohms resistor
· LED
The sensor, which we are going to use in this exercise have a microcontroller inside. This means that it can actuate independently of the Arduino board, you can see this in EXERCISE_A, where the sensor turns on a led if it detects movement.

On the other hand, you can use the sensor with Arduino (EXERCISE_B) to do a more specific control.
Warning:
If sensor doesn’t work well you can regulate it with the tiny potentiometers (increasing the sensitivity moving the potentiometer in clockwise). Also, you can choose between L or H position.
|
EXERCISE_A (WHITOUT ARDUINO) |

|
|
|
EXERCISE_B
(WITH ARDUINO) |
|

|

3. PROGRAMMING
EXERCISE_B (WITHARDUINO)
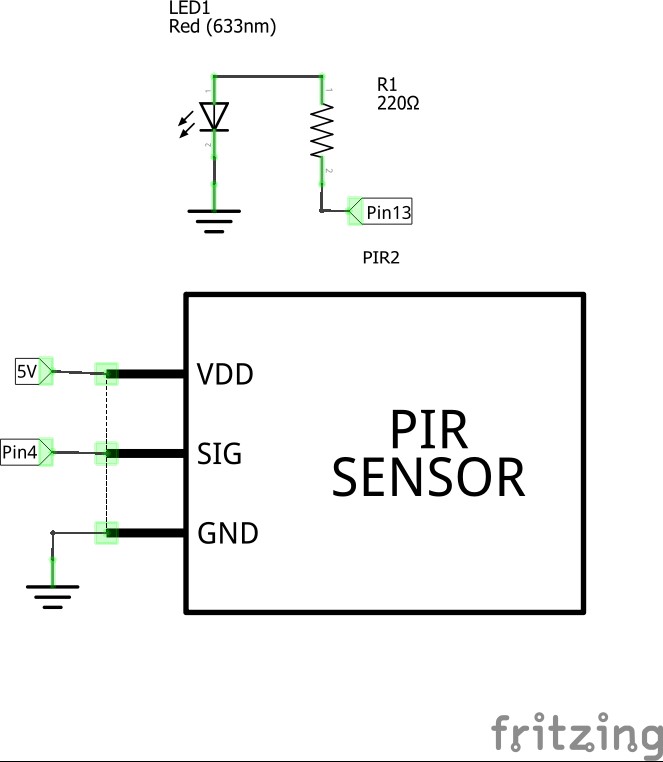
This program test PIR motion sensor. If the sensor detectsmovement, the led will turn on.Probably, you need to calibrate the PIR sensor.
int led=13;
int sensor=4;
int value=0;
void setup(){
pinMode(led,OUTPUT);
pinMode(sensor,INPUT);
Serial.begin(9600);
}
On Loop the sensor is read and Arduino actuates on a LED connected to pin13.
void loop(){
value=digitalRead(sensor);//Read the value of digital output on sensor
//If the value read is HIGH turn on led and
//Writes "I see you: " on Serial monitor
if(value==HIGH){
digitalWrite(led,HIGH);
Serial.print("I see you: ");
Serial.println(value);
}
// If the value is low turn off led adn Writes "I not see you: "
else{
digitalWrite(led,LOW);
Serial.print("I not see you: ");
Serial.println(value);
}
}